How Is Rye Bread Made?
You make rye bread by mixing rye flour with water, yeast, salt, and sometimes sweeteners like honey or molasses for flavor. After activating the yeast in warm water, you combine it with the dry ingredients to form a sticky dough.
You let it ferment to develop flavor and rise, then shape and proof the loaf before baking at the right temperature. Handling and baking carefully gives you that dense, flavorful rye bread you want.
Keep exploring to master every step.
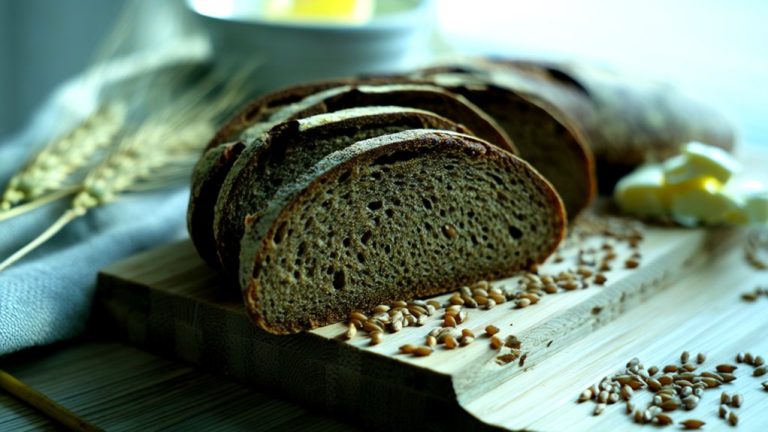
What Is Rye Bread?
Although you might find rye bread made with different recipes, its key ingredient is always rye flour, which gives it an earthy, slightly sour flavor and a denser texture than wheat bread. Rye flour, especially whole rye, has a lower gluten content, which affects dough fermentation and requires careful handling during the second rise to develop structure.
Many rye bread recipes combine rye flour with wheat or bread flour to achieve a lighter texture while preserving the characteristic density. Caraway seeds are often added to enhance the bread’s distinctive, aromatic taste. The proportion of rye flour in the flour combination directly influences the loaf’s heaviness; higher rye content results in a denser, more compact bread.
Rye bread’s dough fermentation is slower due to rye’s unique properties, making timing essential in the baking process. Overall, rye bread stands out for its rich earthy flavor, compact crumb, and the traditional methods that highlight rye flour’s qualities.
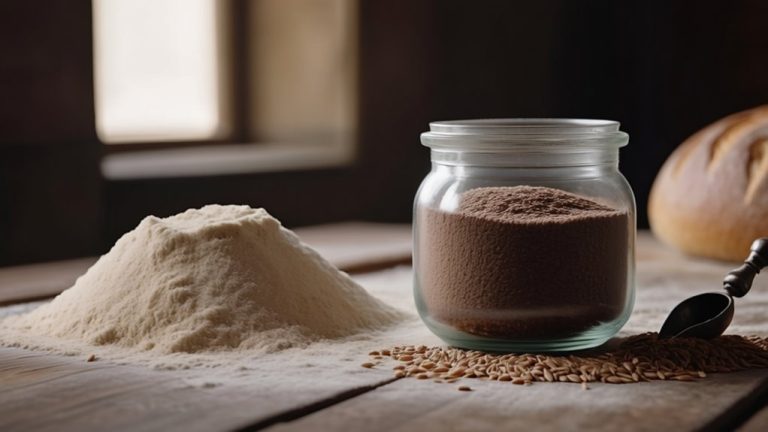
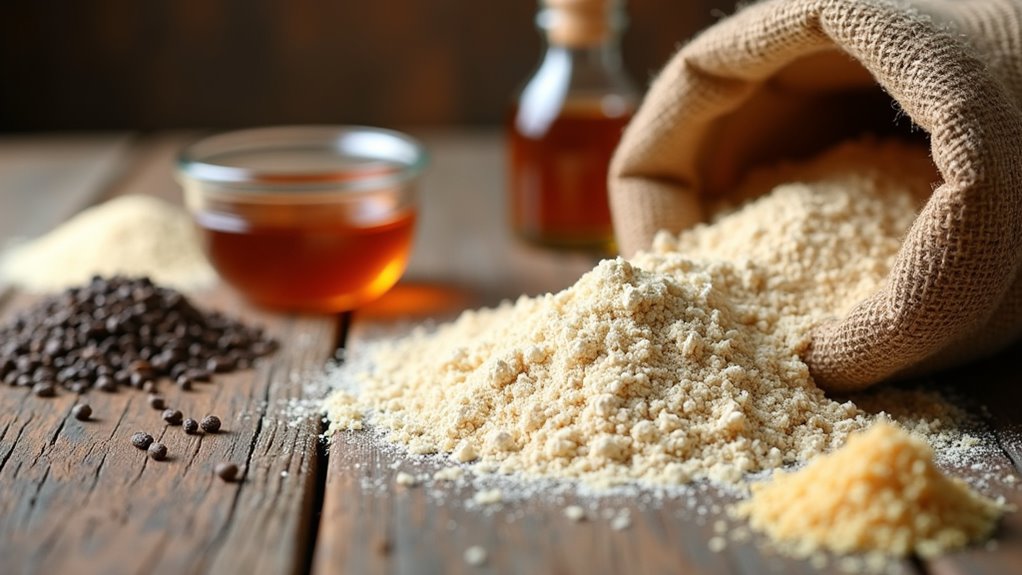
The Unique Properties of Rye Flour
Rye flour gives rye bread its distinctive texture and flavor due to its unique composition. Unlike wheat flour, rye flour contains less gluten-forming proteins, which means you’ll notice reduced gluten development. This results in a denser bread with less rise and different dough elasticity.
Rye flour’s lower gluten content creates a denser, uniquely textured bread with distinct flavor and elasticity.
Rye flour includes gliadin and glutelin proteins but lacks glutenin, essential for elasticity, so your dough won’t behave like typical wheat dough. Additionally, rye flour is rich in pentosans, polysaccharides that absorb water, contributing to rye bread’s moist texture.
Its higher bran content and mineral levels can interfere with gluten development by cutting gluten fibers, further influencing the bread’s density. These factors combine to create rye bread’s characteristic sourer flavor and darker color, often enhanced by ingredients like molasses or cocoa powder.
Understanding these properties helps you appreciate why rye bread stands apart in taste, texture, and appearance.
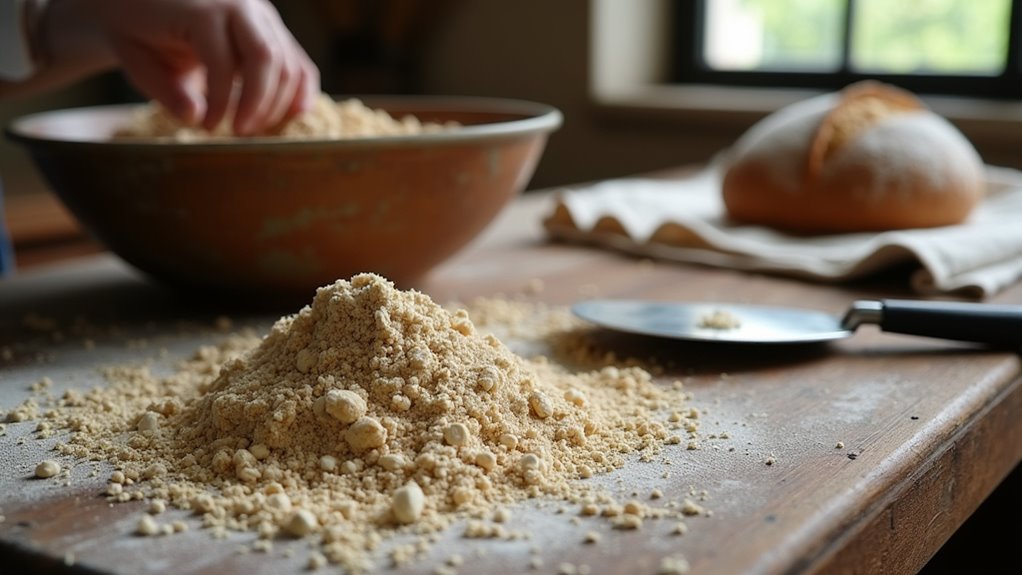
Essential Ingredients for Rye Bread
When you bake traditional rye bread, you’ll rely mainly on rye flour, which gives the loaf its dense texture and unique flavor. Since rye flour has less gluten than wheat flour, many recipes combine it with wheat flour or bread flour to improve the bread’s structure and lightness.
The essential ingredients you’ll need include:
- Rye flour or dark rye flour for intense flavor and color
- Yeast to trigger fermentation and help the dough rise
- Water, measured carefully to balance hydration and fermentation
- Salt and sweeteners like honey or molasses to enhance taste
Caraway seeds are often added to give rye bread its classic aromatic note. Keep in mind, gluten development in rye dough differs from wheat, so ingredient ratios and fermentation times are vital. These elements together create the foundation for rye bread’s characteristic texture and taste.
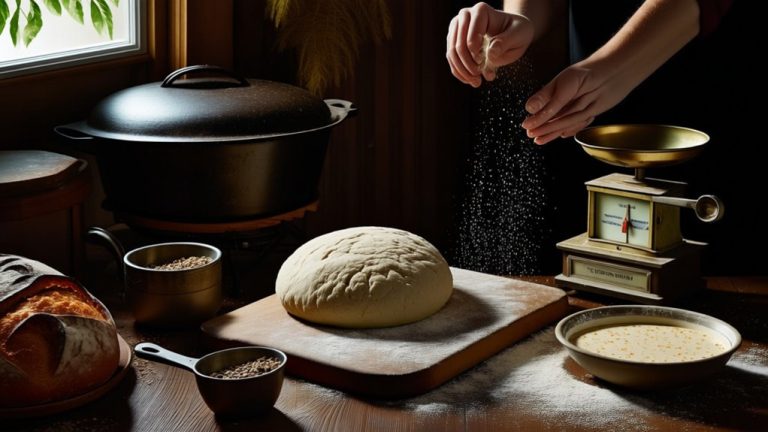
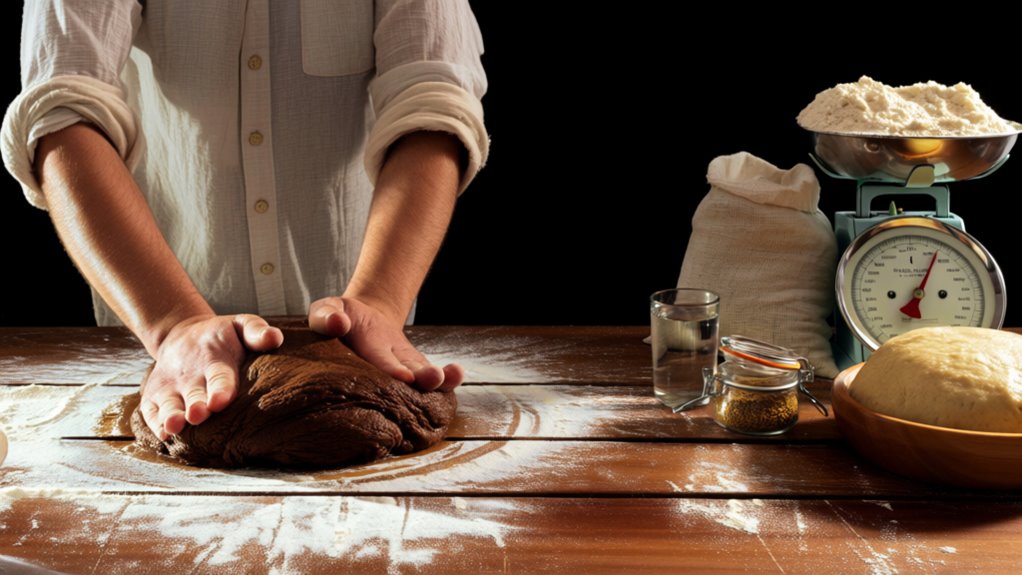
Preparing the Rye Bread Dough
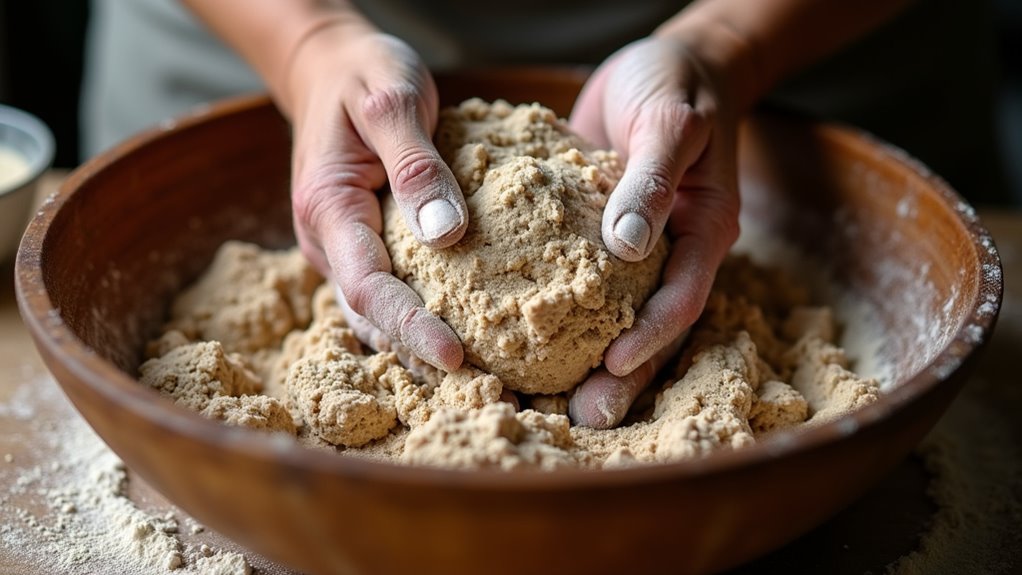
Before you start mixing, you’ll want to activate the yeast by dissolving it in warm water with honey or molasses until it foams, which usually takes 5-10 minutes. In a large bowl, combine rye flour, bread flour, salt, and optional caraway seeds, whisking these dry ingredients to distribute them evenly.
Next, add the yeast mixture and vegetable oil to the flour blend. Stir with a spatula until a sticky, shaggy dough forms. This initial mixing guarantees proper hydration of the flour and yeast. Then, knead or mix the dough thoroughly for 2-3 minutes to incorporate all ingredients evenly, promoting gluten development despite rye’s lower gluten content.
Cover the bowl with plastic wrap, allowing the dough to begin its fermentation and proofing process at room temperature. This step sets the stage for the rising phase, during which the dough will double in size. Proper preparation of the rye bread dough is essential for achieving the desired texture and flavor.
The Fermentation and Rising Process
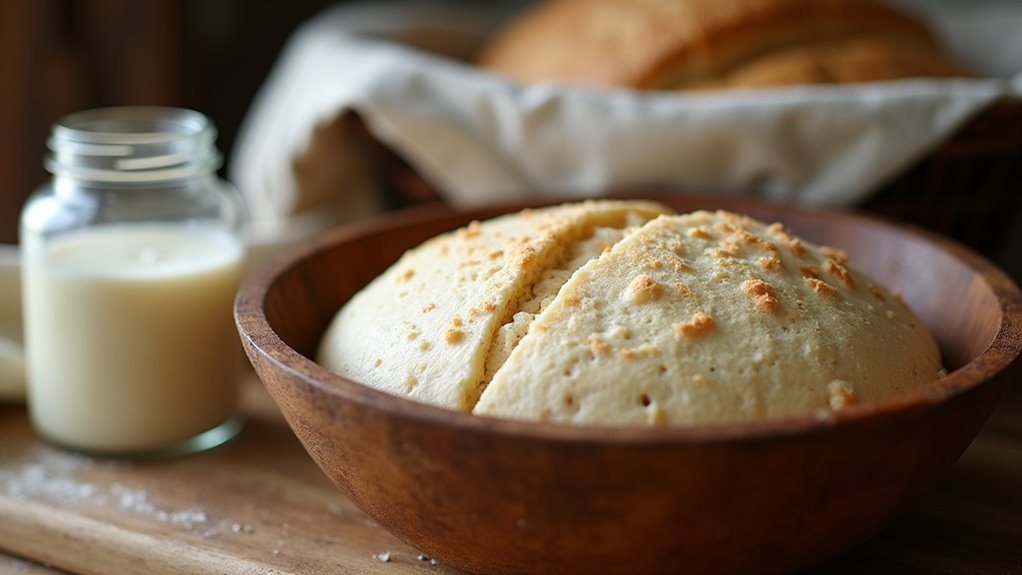
How long should you let the dough rise to get the best flavor and texture? Typically, rye dough undergoes a first proof lasting 1 to 2 hours in a warm spot, allowing yeast and sometimes lactic acid bacteria to ferment. This fermentation produces carbon dioxide, causing the dough to rise and leaven.
Because rye has less gluten, the rise is gentler, resulting in a denser crumb. During fermentation, acid is produced, lowering the dough’s pH and enhancing flavor while improving gluten structure.
Key points to keep in mind during the fermentation and rising process:
- Allow the dough to rise in a warm environment for ideal yeast activity
- Expect a slower rise due to rye’s lower gluten content
- Understand that acid production during proofing improves taste and dough strength
- The leavening produced in this proofing process creates the bread’s texture
Following this approach ensures a well-fermented rye dough ready for the next steps in baking.
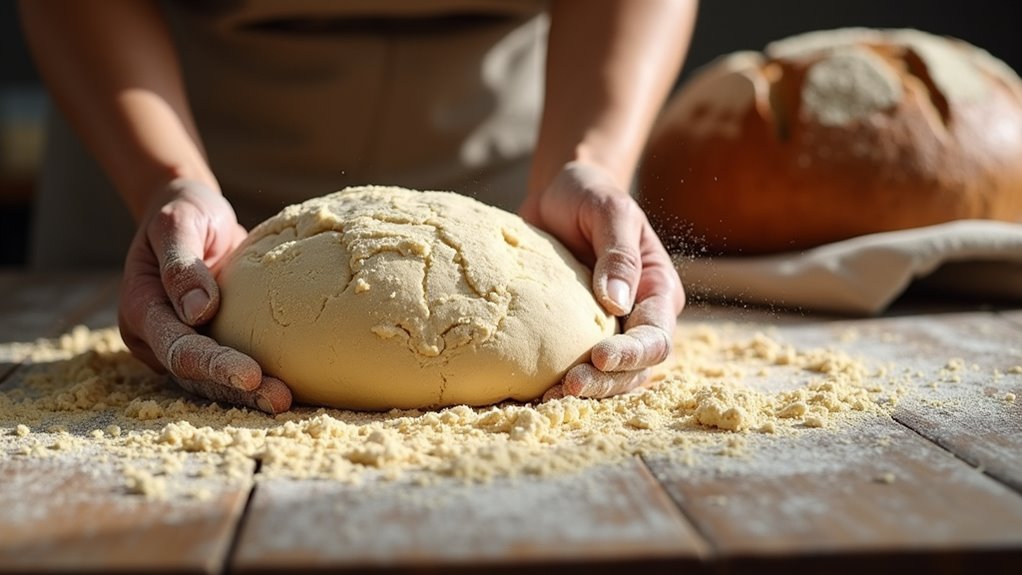
Shaping and Proofing the Loaf
Once your rye dough has completed its initial rise and developed flavor through fermentation, the next step is shaping and proofing the loaf. Gently turn the dough onto a floured surface, then use a shaping technique to fold it into a tight, smooth loaf. Be careful to preserve air bubbles and create surface tension by sealing the seams underneath.
Place the shaped loaf into a greased pan or a proofing basket, depending on your desired crust and shape. Cover it and allow the dough to proof until it rises about 1.5 times its original size, usually 1 to 2 hours. This proofing process is essential for a good oven spring and a uniform crumb.
| Step | Action | Purpose |
|---|---|---|
| Shaping | Fold into tight loaf | Create surface tension |
| Proofing | Cover and rise 1.5x size | Develop oven spring |
| Placement | Use pan or proofing basket | Control final loaf shape |
| Handling | Preserve air bubbles carefully | Maintain dough structure |
Baking Techniques for Rye Bread
Although rye dough requires careful handling during fermentation and shaping, baking it properly is what truly brings out its unique flavor and texture. You’ll want to focus on controlling the dough rise and proofing to ensure the loaf has the right structure before it hits the oven. Scoring the dough is essential. It guides oven spring and prevents random cracks. Using a Dutch oven or baking stone with steam injection helps develop a crisp crust, locking in moisture from the high-hydration rye dough.
Keep these tips in mind for perfect baking:
- Preheat your oven to the correct baking temperature for even crust development.
- Use steam injection early in baking to encourage oven spring and a shiny crust.
- Score the loaf just before baking to control expansion during oven spring.
- Handle shaping gently to maintain dough structure affected by fermentation and hydration.
Mastering these techniques will deliver rye bread with great texture and flavor every time.
Storing and Using Rye Bread
After you’ve baked your rye bread to perfection, knowing how to store and use it properly will help you enjoy its flavor and texture longer. For short-term storage, keep your bread at room temperature in a paper bag to allow some airflow, but wrapping it in plastic wrap or placing it in an airtight container markedly improves moisture retention and stale prevention.
If you want to store rye bread for longer, freezing is ideal. Wrap the bread tightly in plastic wrap, then in foil, and place it inside a freezer bag to protect it from freezer burn for up to three months. When you’re ready to use frozen bread, thaw it at room temperature and reheat it in the oven to restore its crustiness and flavor.
Always avoid leaving bread exposed to air, as this speeds up drying. Proper wrap and storage techniques ensure your rye bread stays fresh, tasty, and ready to enjoy.
Frequently Asked Questions
Is Rye Bread a Healthier Bread?
Yes, rye bread is generally healthier than white wheat bread. You’ll benefit from its lower glycemic index, which means it won’t spike your blood sugar as much.
It’s also packed with dietary fiber, helping your digestion and keeping you fuller longer. Plus, rye bread has more vitamins like B-complex and minerals such as iron and magnesium. Its antioxidants add extra health perks, making it a smart choice if you want a nutritious bread option.
What Is the Difference Between Rye Bread and Regular Bread?
You know what they say, “Don’t judge a book by its cover.” Rye bread differs from regular bread mainly in texture and flavor. You’ll notice rye bread is denser and moister because it has less gluten, giving it a heavier feel.
It also has an earthy taste and darker color, thanks to ingredients like molasses. Regular bread is lighter, fluffier, and rises faster due to higher gluten content from wheat flour.
Is Rye as Inflammatory as Wheat?
Rye isn’t usually as inflammatory as wheat, especially if you’re sensitive to gluten. It has less gluten than wheat, so if you have gluten-related issues, you might find rye easier on your system.
Plus, rye contains unique compounds and fiber that can actually help reduce inflammation. However, everyone’s different. Some people might still react to rye, but for most, it’s a gentler option compared to wheat.
Why Does Rye Bread Taste Like Pickles?
Rye bread tastes like pickles because of the fermentation process and the spices used. When the dough ferments, lactic acid bacteria produce a tangy, sour flavor similar to pickled veggies.
Plus, caraway seeds add an earthy, slightly spicy note that reminds you of pickles. Sometimes ingredients like molasses or cocoa deepen those flavors, making the bread’s taste uniquely tangy and pickle-like.
Conclusion
Now that you know how rye bread is made, you can feel the dense dough in your hands, watch it rise slowly like a morning sun, and smell the warm, earthy aroma filling your kitchen.
You’ll shape the loaf with care, bake it until the crust is crisp and golden, and slice it to reveal its hearty crumb. By making rye bread yourself, you’ll taste tradition, embrace patience, and enjoy every wholesome bite.