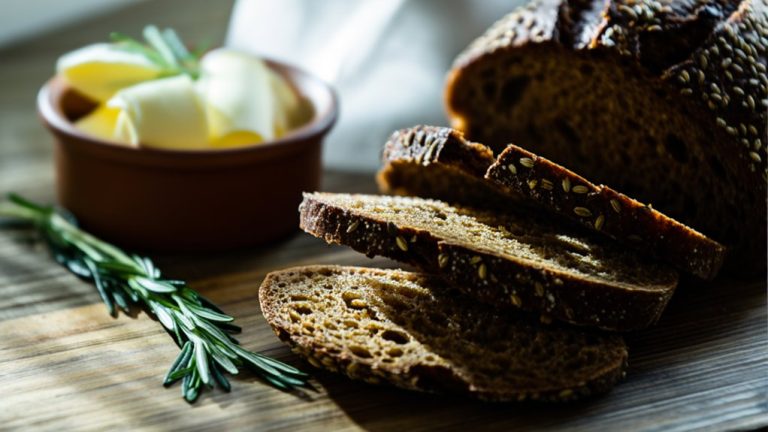
How to Make Rye Bread in 5 Simple Steps
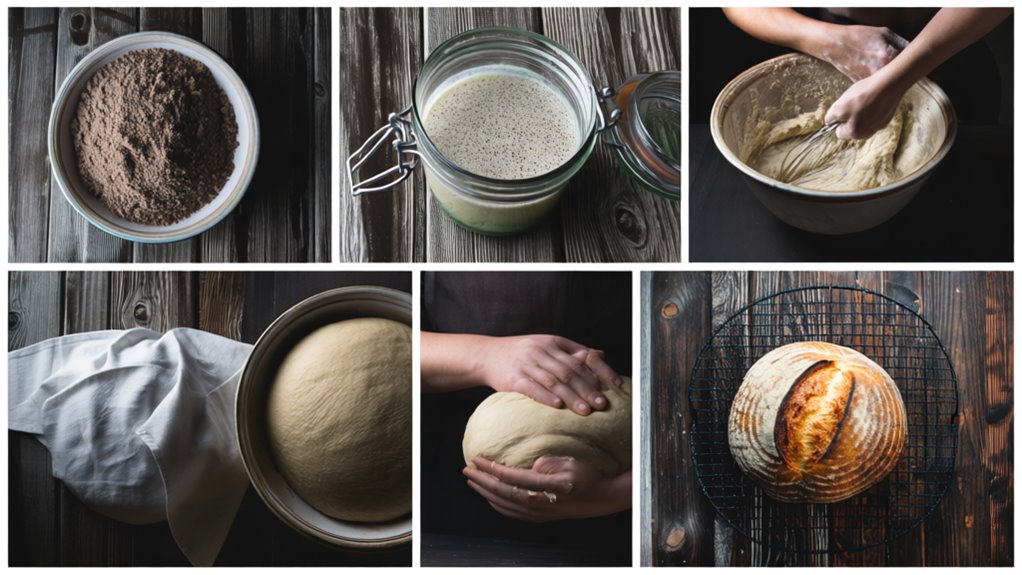
To make rye bread in five simple steps, start by measuring rye and wheat flours accurately and mixing them with salt and yeast dissolved in warm water.
Let the sticky dough rest, then shape it gently to preserve airiness. Allow it to proof until doubled.
Then score and bake at 375°F until golden with a hollow sound.
Cool it properly before storing to keep freshness. Keep going, and you’ll discover tips to perfect every part of the process.
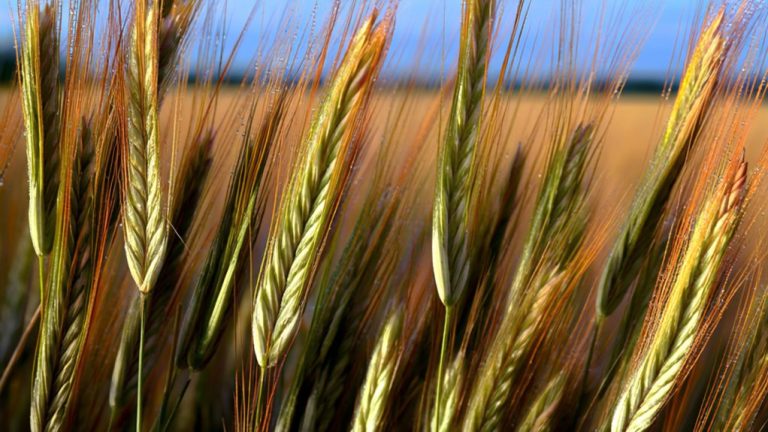
Understanding Rye Flour and Key Ingredients
Although rye flour shares similarities with wheat, it behaves quite differently in bread baking due to its higher bran content and unique proteins. When you work with rye flour, you’ll notice that the sharp bran particles can cut through gluten fibers, which affects gluten formation and reduces bread volume.
Unlike wheat, rye contains gliadin and glutelin proteins, and its high pentosans content absorbs water and inhibits gluten development, resulting in denser bread. The type of rye flour you choose, white rye flour, medium rye, or dark rye flour, also impacts the bread’s color, flavor, and density.
For consistent results, accurate flour measurement is essential; weighing rye flour in grams is far more reliable than volume measurements, which can vary between brands and types. Understanding these properties of rye flour will help you anticipate how your dough behaves and prepare you for the next steps in making delicious rye bread.
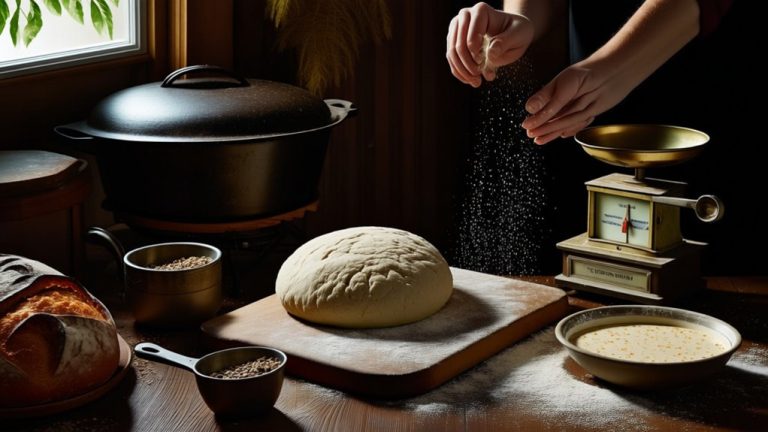
Preparing and Mixing the Dough
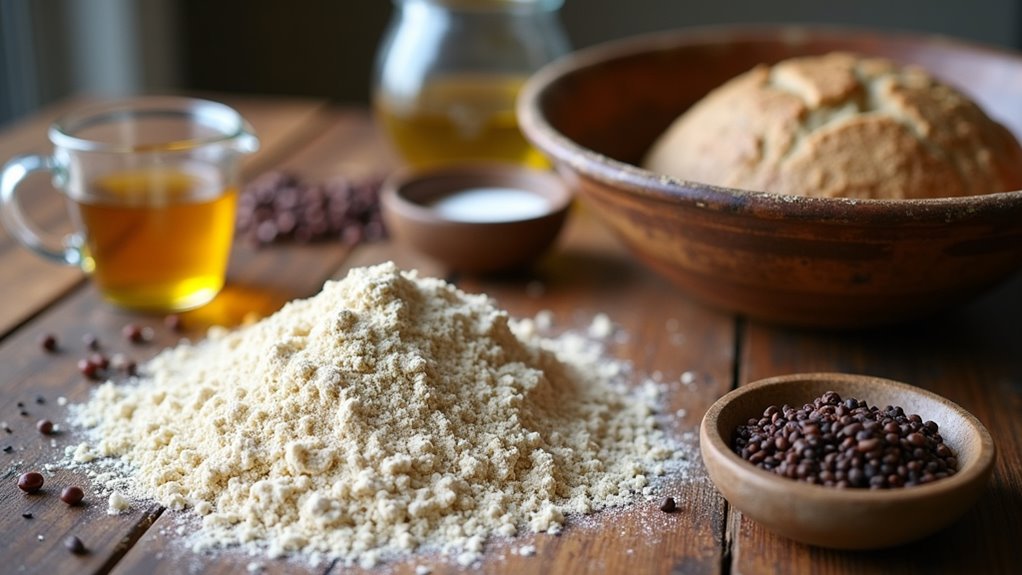
When you’re ready to prepare the dough, start by measuring your rye and wheat flours precisely using a scale to make certain of consistency. Aim for about 20-50% rye flour combined with bread or all-purpose wheat flour to control the bread’s density.
Next, thoroughly mix your dry ingredients: rye flour, wheat flour, salt, yeast, and any optional caraway seeds. Dissolve your yeast in warm water with a touch of honey or molasses, then add this liquid along with oil or butter to the dry mix.
Combine dry ingredients, dissolve yeast in warm water with honey, then mix in liquids for a flavorful dough base
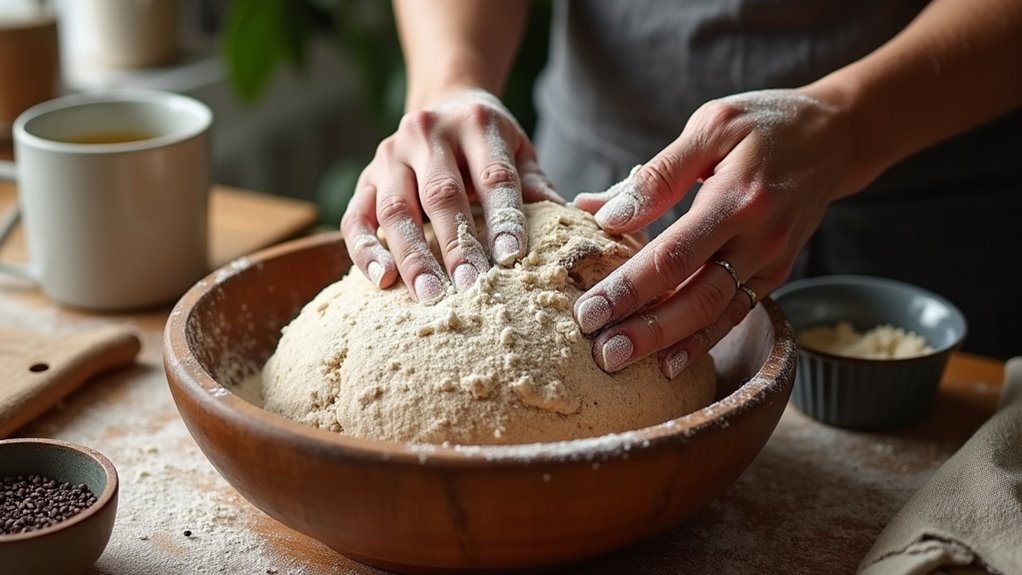
Stir everything until a sticky, shaggy dough forms. Cover the dough and let it rest for 30 minutes. This resting period is vital for hydration and initial gluten development, especially since rye flour behaves differently than wheat.
After resting, you’ll gently knead the dough to enhance gluten structure, though rye dough remains stickier than typical wheat dough. This careful preparation sets a firm foundation before moving on to fermentation and proofing.
Fermentation and Proofing Process
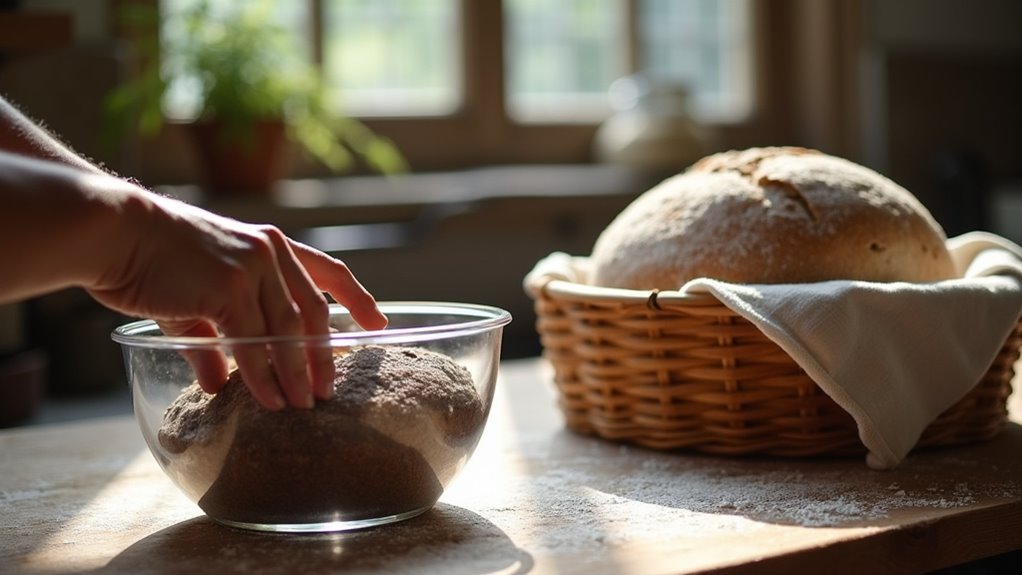
Since fermentation is essential to developing rye bread’s flavor and texture, you’ll want to let your shaped dough proof until it doubles in size, usually taking 60 to 90 minutes at room temperature. This proofing stage allows fermentation to produce internal gas, which creates a light, airy crumb when baked.
For dough with higher rye content, extending the proofing time or using a refrigerated slow fermentation of up to 24 hours deepens flavor and improves texture. Be sure to maintain a warm, draft-free proofing environment to guarantee consistent dough rise and avoid under- or over-proofing.
Proper proofing dough will feel puffy and slightly spring back when gently pressed; this indicates the ideal proofing temperature and readiness. Avoid letting the dough over-proof, as this can cause it to collapse. By carefully controlling the proofing process and proofing time, you’ll set the stage for a beautifully fermented rye bread with excellent structure and taste.
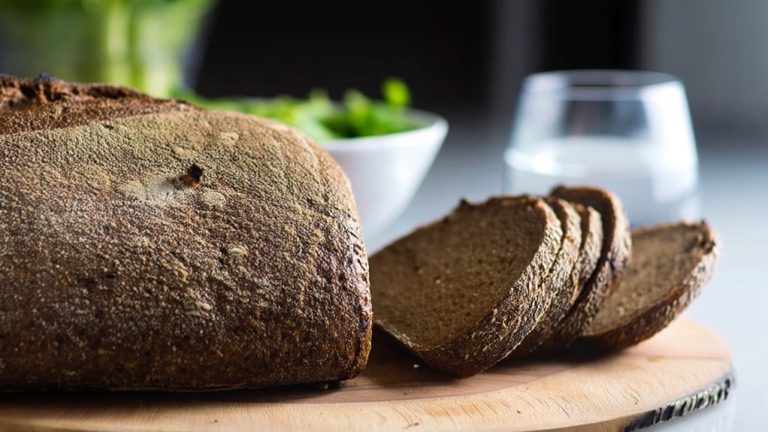
Shaping and Baking Your Rye Bread
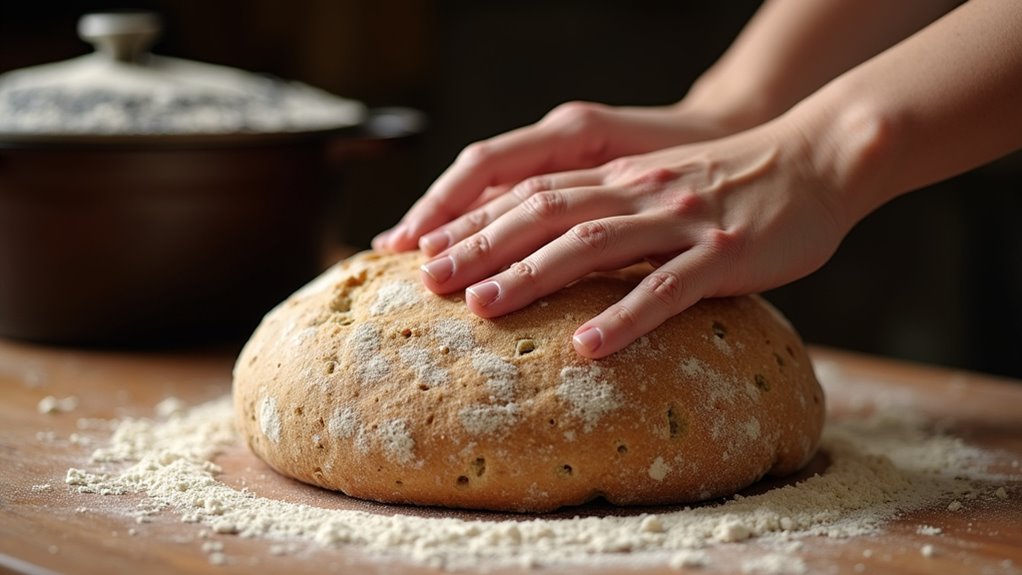
Before baking, you’ll want to gently shape your fermented rye dough into an oval or log, taking care not to overwork it so the bread stays light and airy. Place your dough into a buttered loaf pan or on a baking sheet, depending on your preferred loaf shape.
Cover it and let it rise until it domes above the rim, usually about 45 minutes to an hour during proofing. Preheat your oven to 375°F (190°C). Just before baking, score the top of the loaf to control expansion and enhance the crust’s appearance.
Bake for about 45 minutes until the crust turns golden brown and the loaf sounds hollow when tapped. Finally, remove it from the oven and let it cool on a wire rack before slicing.
| Step | Action | Tips |
|---|---|---|
| Shaping | Form oval or log | Avoid overworking dough |
| Placement | Loaf pan or baking sheet | Grease pan for easy release |
| Rise | Cover and proof | Rise till dough domes |
| Scoring | Slash top before baking | Controls expansion |
| Baking | 375°F for 45 minutes | Crust golden, hollow sound |
Cooling, Storing, and Serving Tips
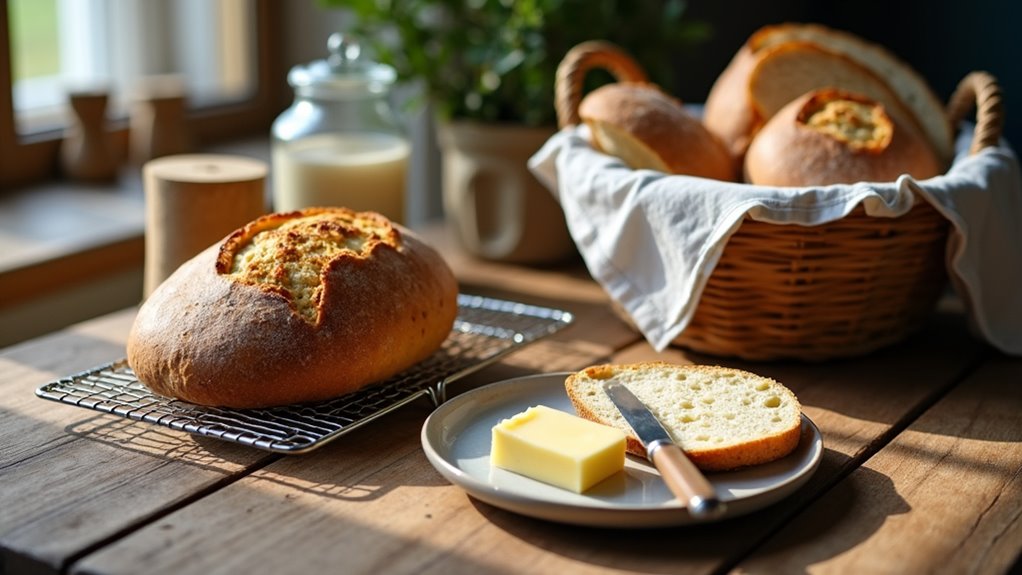
How long should you let your rye bread cool after baking? It’s best to cool it on a wire rack for at least 20 minutes. This step prevents the crumb from becoming gummy and helps the crust set properly.
When storing, keep your rye bread at room temperature in a paper bag or loosely wrapped cloth for up to two days; this maintains the crust’s crispness. For longer storage, wrap the loaf tightly in plastic wrap or foil and freeze for up to three months.
When you’re ready to serve, thaw the bread at room temperature. To revive freshness and crisp the crust, reheat slices in the oven at 350°F for 5-10 minutes or toast them. Also, keep the cut side down when storing to preserve the crust and prevent it from softening too quickly.
Following these cooling, storing, and serving tips ensures your rye bread stays delicious longer.
Frequently Asked Questions
What Are the 5 Steps of Making Bread?
The five steps of making bread are pretty straightforward. First, you mix your dry and wet ingredients to form dough. Then, you let it rise until it doubles in size.
Next, you shape the dough into your desired form. After that, you allow a second rise for better texture.
Finally, you bake the dough until it’s golden and cooked through, then cool it before slicing.
How to Make Bread Step by Step List?
You’re about to make bread so good it’ll make angels sing! Here’s the step-by-step: 1) Mix your dry ingredients like a wizard. 2) Add warm water, honey, and oil. Stir until sticky magic forms.
3) Let your dough rise until it doubles like a balloon. 4) Shape it into a loaf and proof it until fluffy. 5) Bake at 375°F until golden perfection, then cool before slicing. Easy!
How Many Steps to Make Bread?
You’ll typically go through about 6 main steps to make bread. First, you mix your ingredients until you get a sticky dough. Then, you knead it to develop gluten.
After that, you let it rise for an hour or two. Next, you shape the dough and let it proof again. Finally, you bake it, then cool it before slicing.
Each step helps build flavor and texture in your bread.
What Does Rye Bread Consist Of?
Rye bread mainly consists of rye flour, which gives it that unique earthy taste you’ll notice. You’ll often find ingredients like caraway seeds, molasses, or cocoa powder added for extra flavor and color.
Since rye has less gluten, a bit of wheat flour is usually mixed in to help the bread rise. The texture can be dense or lighter, depending on how much rye flour you use and the fermentation process.
Conclusion
So, you’ve survived making rye bread in just five simple steps. Who knew baking could be this easy? Now, instead of buying that boring store loaf, you get to enjoy your own dense, tangy masterpiece that’s basically a workout for your jaw.
Remember, patience is key, but hey, if your bread turns out a bit rockier than expected, just call it artisanal. Either way, you’ve earned bragging rights. Happy munching!